
As the final mission of Act 1 loomed, Jin Sakai carried the weight of an entire island on his shoulders. The grappling hook Taka had forged in 'The Iron Hook' now hung at his side, its iron teeth promising a way over Castle Kaneda's walls. Yuna, Sensei Ishikawa, Lady Masako, and a handful of loyal swords waited at Komatsu Forge. Yet one promised force was missing—the Straw Hat Ronin had vanished, and Jin could not wait any longer. That single absence closed one chapter and opened another: Lord Sakai would enter the fortress, but the Ghost would fight his way out.
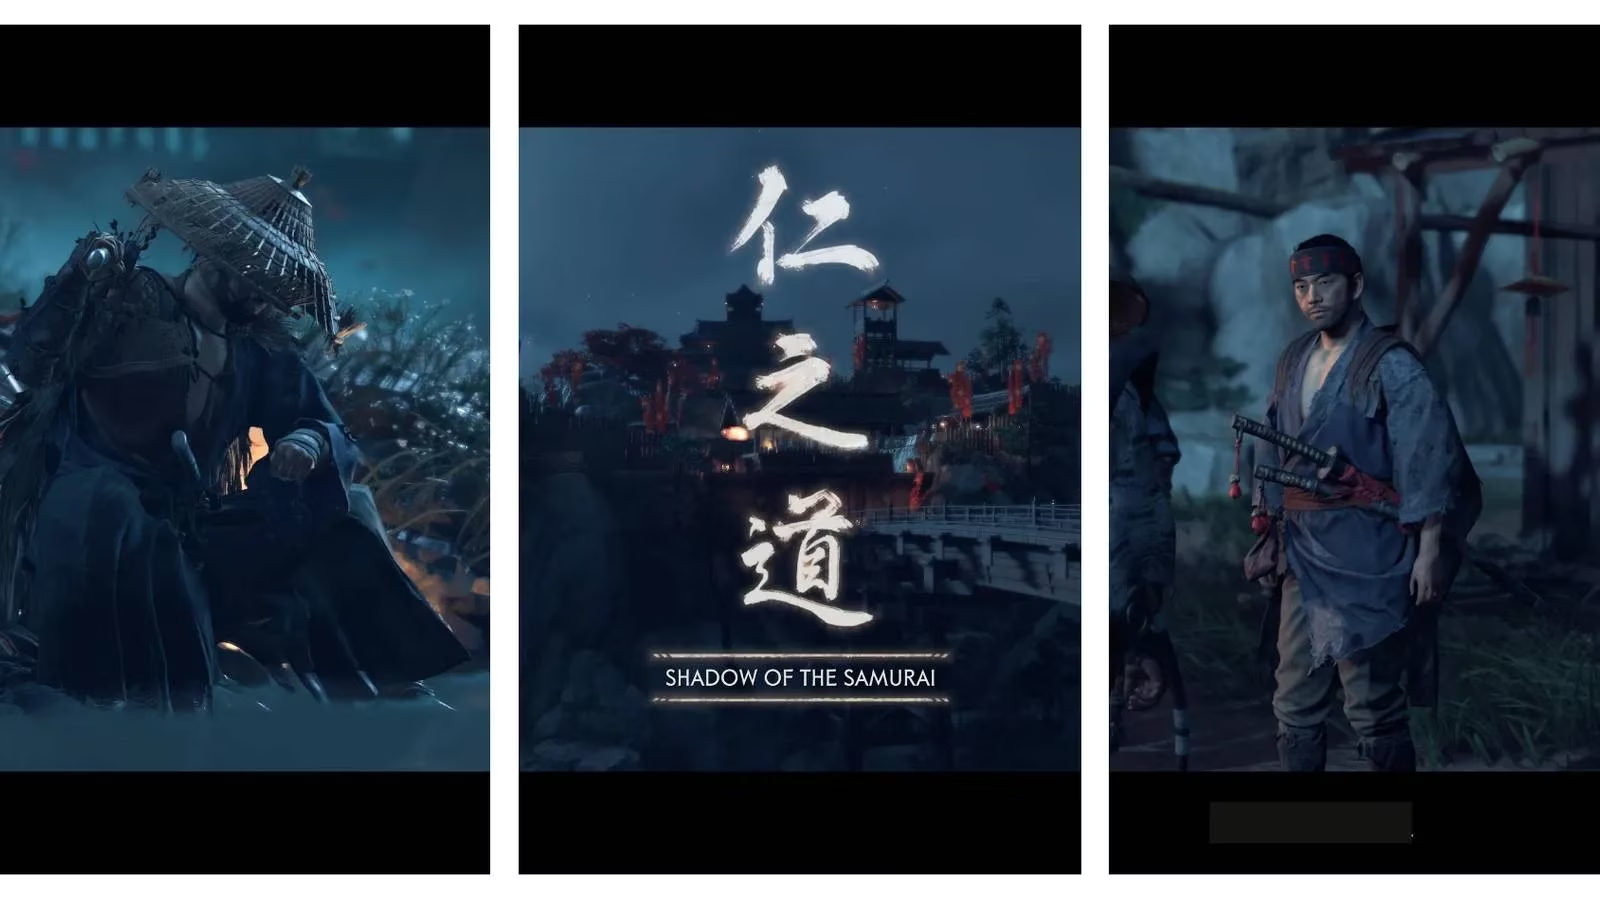
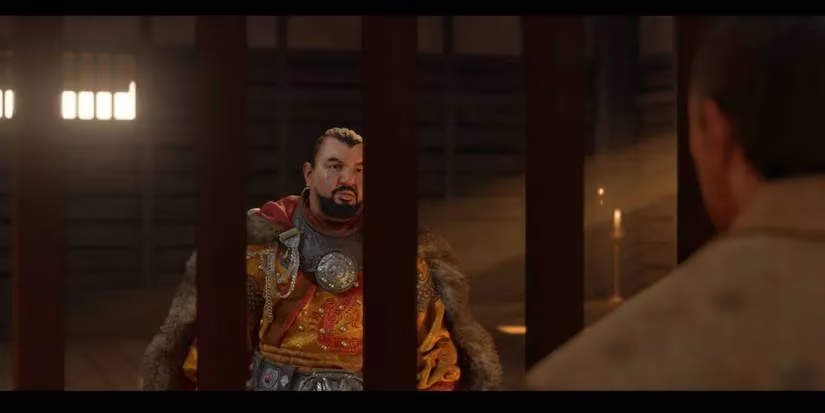
The mission began quietly. After meeting Yuna inside the main forge building, the game cut away to a tense conversation between Khotun Khan and Lord Shimura. Here, Shimura learned that Jin's tactics had drifted far from the samurai code. The moment mattered more than the player might realize; it seeded the moral conflict that would follow Jin throughout the rest of the journey.
Before the attack, Jin had a chance to speak quietly with each ally. The story-minded player did not want to rush this. These small conversations gave weight to the coming assault. When ready, Yuna waited by the fire to begin the attack.
Preparing the Rescue
Castle Kaneda was the first major test, so preparation mattered. Jin's equipment, charms, and techniques could change the fight dramatically.
-
⚔️ Upgrades – The Sakai Katana offered the most visible combat improvements, but the Sakai Tanto was quietly vital. A faster assassination speed let Jin disappear into pampas grass before a Mongol could cry out.
-
🛡️ Charms – The Charm of Mizu-No-Kami made Parries, Perfect Parries, and Perfect Dodges easier to perform. For players who struggled with timing, this charm was a lifesaver.
-
🏹 Techniques – Several techniques shone before the siege. Perfect Parry was essential, while the Unyielding sword and spear parries turned unblockable attacks into blue-glint attacks that Jin could answer. Iron Will allowed him to spend three resolve nodes to survive a fatal blow. Concentration, Mental Fortitude, and Advanced Mental Fortitude turned the bow into a crowd-killer by slowing time while aiming.
Infiltrating the Outer Walls
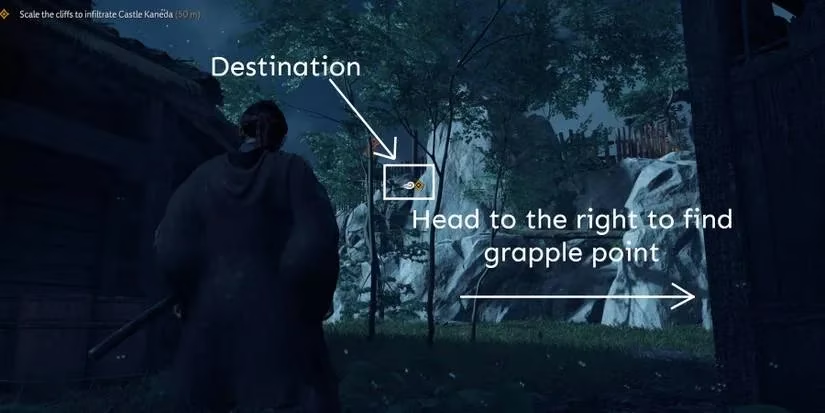
From the burnt-out meeting point, Jin looked up to find his destination. The cliffs rose sharply, and a stump served as the first grappling point. From there, he followed the only path forward, swinging between branches and ledges until he reached a small hole in the fence.
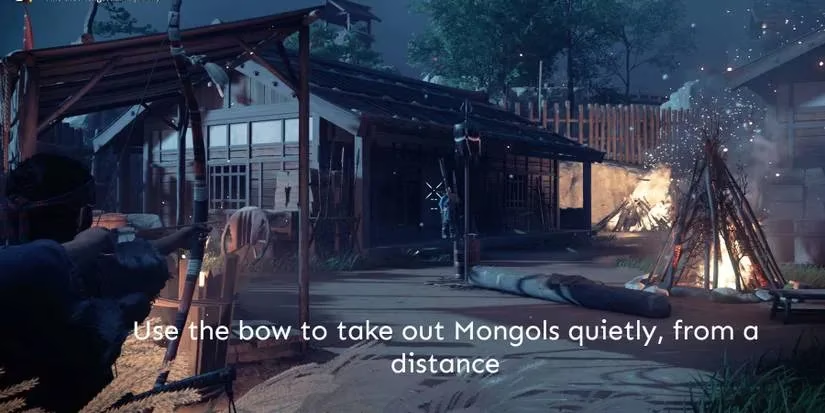
The first order of business was silence. Mongols guarded the alarm nearby, and raising it would flood the courtyard with enemies. Pampas grass offered cover, but getting through unseen was difficult. The bow became useful here—Jin could thin the crowd from a distance. If he aimed at the guard towers in the next courtyard, he saw Sensei Ishikawa already doing the same from his own perch.
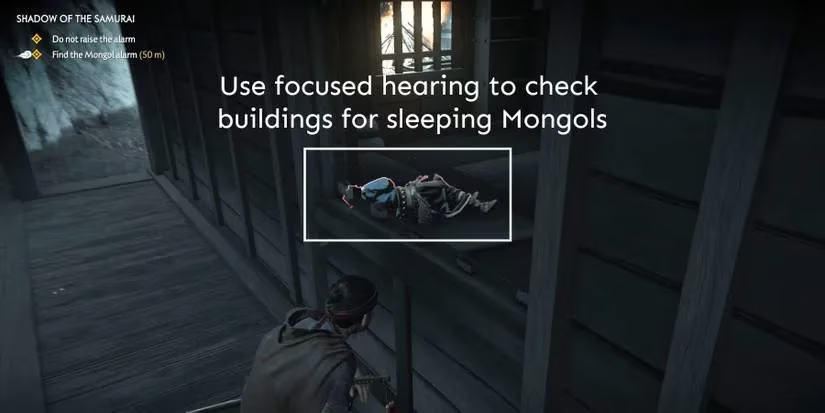
Inside the buildings, some Mongols slept on the ground. Focused hearing revealed their bodies before Jin entered. A slow approach and a quick assassination kept the alarm silent.
Pushing Through the Courtyards
After clearing the first courtyard, the game took over. Jin handed tasks to his allies, but Lady Masako stayed at his side. The two moved through the outer layers of the fortress, and the next area seethed with enemies. Stealth was nearly impossible here, so Jin prepared for a brutal fight. Eventually, Masako split off to operate the hwacha, raining fire across the Mongol positions while Jin met Yuna at the bridge. Crossing that bridge launched the mission's final movement.
A locked gate blocked the central keep. Jin turned right, dropped under the bridge, and climbed through another small hole in the fence. Opening the gate for Yuna made the next courtyard far more manageable. Inside, flame-wielding Mongols appeared for the first time—flaming archers were manageable, but the flaming-sword soldiers could shred Jin's health quickly. A well-placed kunai stunned them long enough for Jin to finish the job.
The Duel with Ryuzo
At the top of a small hill, another locked gate forced Jin through a gap in the fence. What waited on the other side was crueler than any Mongol blade. Ryuzo stood there, waiting. Even then, Jin offered his old friend a chance to return. Ryuzo refused.
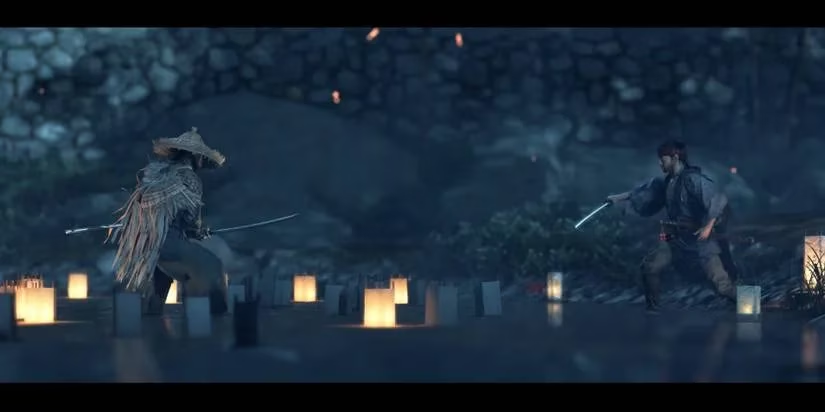
For many players, this was the first proper duel in Ghost of Tsushima. Ryuzo was no samurai, but he was a trained swordsman, and many of his moves mirrored Jin's own. A few lessons helped:
-
🗡️ Use the Charm of Mizu-no-Kami – Perfect Parries opened Ryuzo up for massive counter-damage.
-
⏳ Do not attack after a regular parry – Ryuzo loved chaining attacks. Only a Perfect Parry stopped him cold.
-
💙 Keep Iron Will available – It could revive Jin in an emergency, though not with much health.
-
👀 Study the animations – Several of Ryuzo's attacks could be parried, but not all. One unblockable move began with his sword lowering into the water and spinning. Another began with him sheathing the sword, often followed by a second unblockable strike. Watching the start of the animation made the fight far easier.
Jin won, but Ryuzo escaped as a small group of Mongols poured into the area. Clearing them opened the path to the main keep.
Storming the Keep
Opening the keep's front door triggered a Standoff. If upgraded, Jin could cut down three Mongols before the fight truly began. Each floor held enemies, and a small ladder led upward. On the second level, a shoji door revealed the outline of a guard on the other side. This was where the shoji assassination unlocked—one of the most satisfying kills in the game.
Jin found Lord Shimura on the fourth floor, guarded by two Mongols. One guard died through the shoji screen. Once freed, Shimura refused to sneak. He and Jin fought their way through the final waves of enemies, and when the dust settled, Castle Kaneda returned to the Jito of Tsushima. The Mongols had suffered their first decisive defeat.
As of 2026, Ghost of Tsushima: Director's Cut remains available on PS5 and PC, with the base version still playable on PS4. The mission endures as one of the game's best Act 1 finales.
This discussion is informed by Metacritic, a widely used aggregator that helps contextualize why set-piece missions like Castle Kaneda’s Act 1 finale resonate—players tend to respond strongly when a game balances cinematic stakes (Shimura vs. Jin’s shifting methods) with mechanical payoff (the grappling hook opening new traversal, the duel structure sharpening timing and reads, and multi-courtyard combat escalating enemy variety like fire users). Viewing the mission through the lens of broad critical consensus underscores how “Shadow of the Samurai” functions as both a narrative hinge and a systems showcase, locking in the Ghost-vs-samurai tension that defines the rest of the campaign.
Comments